By Aaron Talbot
Over the years dedicated aquatic plant hobbyists developed many different
methods to maintain vibrant freshwater flora. After having tried almost
all of the popular fertilization techniques, I have finally found one
that produces consistently healthy aquatic plants. That fertilization
method imparts essential nutrients by using mineralized topsoil as a substrate.
When I joined the Greater Washington Aquatic Plant Association about four
years ago, I attended my first official meeting at the home of Sean Murphy.
Sean is a Fisheries Biologist by trade and has been employing mineralized
soil in his planted aquariums for nearly two decades now. He developed
a “recipe” for the soil substrate during his collegiate studies
of wetlands soils. It is his recipe that I have recently begun using with
great success.
Using topsoil or potting soil as a substrate is not a new idea. Aquarists have been using this method to grow healthy aquatic plants for decades. However, this method does seem to pose some problems, namely algae outbreaks resulting from light intensity that is too strong. This is especially true when you first set up your aquarium with this type of substrate. The algae likely results from the excess nutrients that decomposing organic materials release in the soil. The decomposing organic materials are not bio-available to the aquatic plants. As the tank matures, the algae dissipate slowly as the organics in the soil finish breaking down.
Mineralizing the soil beforehand helps to speed the breakdown of organic materials in the soil. In turn the mineralized soil will help shorten the initial algae outbreak period that many aquarists experience when using a soil substrate. Soil mineralization occurs from exposing bacteria, enzymes and other soil microbes to oxygen in a moist environment. The microbes break down the organic materials in the soil into bio-available minerals. As an added bonus these new bio-available forms of nutrients are generally only available to plants and not to algae.
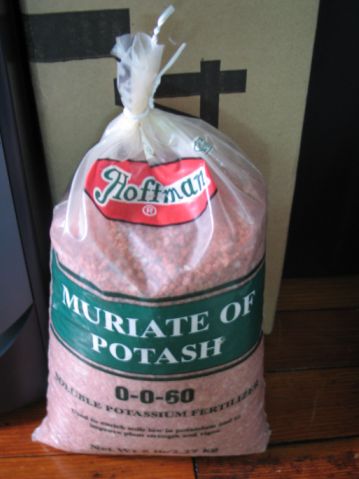
There are a few other components to the mineralized soil recipe. Clay provides a source of iron. The clay also serves to bind with the soil as a flocculating agent. When plants are uprooted or disturbed, the added clay will help the soil to settle back to the bottom of the tank. Adding Dolomite to the base of the substrate will provide plants with the necessary calcium and magnesium they need for healthy growth. The calcium and magnesium in the dolomite will also help to keep the soil from becoming too acidic. Lastly, add soluble potash for an initial potassium source.
It is still possible to use pressurized CO2 and high lighting with this method of fertilization. I have setup four tanks using this method and all of them have been high-tech setups using CO2 and high lighting. I rarely ever have to dose any supplements save for the occasional dose of potassium. Use caution when dosing and dose very little amounts at a time. Below are a couple pictures of tanks that I setup using the mineralized soil method.


For those readers who would like to try the mineralized soil substrate method, I’ve composed a list of materials, photographs and step-by-step instructions.
Materials Needed:
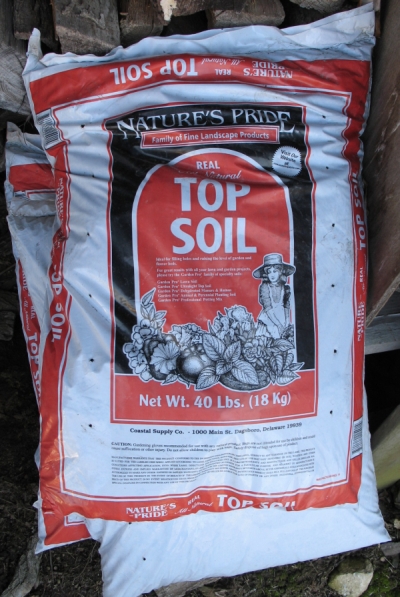
Step 1:
Open the bag of topsoil and distribute in the container of your choice
for soaking purposes. I use large Rubbermaid containers that are readily
available from any mega-mart. You will want to use cheap topsoil and not
potting soil. Potting soil has additives to avoid such as fertilizers,
vermiculite and peat moss.
Fill the tub with water so the water level is a few inches above the top
of the soil. I like to stir it around a bit to help break up any big clumps
and evenly distribute the water. Let this soak for a day or two. Come
back and slowly dump the water off of the top. Now add in more water so
the soil is well covered. This water changing process helps to “rinse”
the soil of any possible fertilizers or other harmful water soluble chemicals.
Step 2:
Pour the excess water out of the container as you did when changing
the water. Lay out the large plastic tarp, preferably in direct sunlight.
Dump out the muddy soil and spread it relatively thin over the tarp. Allow
the soil to dry completely. This can take a day or two and depends greatly
on how warm the temperature is where you are drying the soil. This part
of the process could be done indoors. Though due to its messy nature,
I suggest doing it outdoors if possible. When the soil is completely dry,
add it back into the soaking container.
The drying process is the part that allows the microbes in the soil to
begin mineralizing the nutrients. Exposing it to air oxygenates the soil.
Step 3:
Repeat steps 1 and 2 three to four times. Repeating the steps is necessary to further mineralize the soil and remove any lingering fertilizers. The soil mineralizes the most during the time while it is still moist and exposed to air on the large tarp. By soaking it over again we reintroduce the needed moisture for this process to take place. When the soil is near fully mineralized it will have a very grainy texture. Another way to tell that the soil is ready is by smell. There will be virtually no smell coming from the soil once it is mineralized.

Mineralized Topsoil
Step 4: (optional)
Screening the soil can help to remove any large organic materials that
the short mineralization process employed thus far cannot remove. I have
setup tanks where I skipped Step 4 and others where I used it. I have
found that adding this step to the process helps to further eliminate
algae issues after a tank is newly setup.
You can use a wooden frame with chicken wire stapled to four sides. Then
place nylon screening material overtop. Place a few handfuls of soil on
top and gently push the soil across the surface of the screen. Make sure
to put a container underneath to catch the sifted soil. Below is a picture
of the sticks, leaves and stones that can be removed during this step.
The resulting sifted soil will feel like airy sand.

Screening Setup
Step 5:
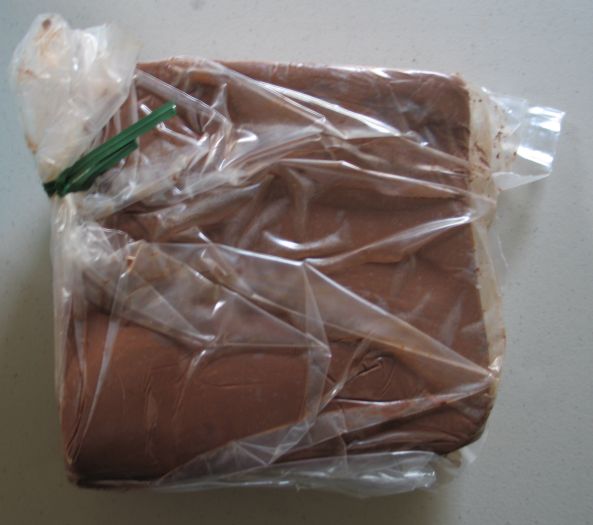
Now that you have a mineralized soil to use as the substrate, you will
want to add in the aforementioned clay. Estimate how much clay you will
need so that the resulting mixture of soil and clay is about 5% to 10%
clay. If you prefer measurements I use about ¼ of a pound of clay
per square foot of tank bottom.
To add the clay you soak it in a container of water to help emulsify it
and make it easier to incorporate into the soil. A second option to add
clay is to dry the clay in the open air and then crush it into a powder
and add it to the soil. In either case you will want to eventually add
enough water to the mixture to form a nice runny mud.

Mineralized Soil Mud with Clay Added
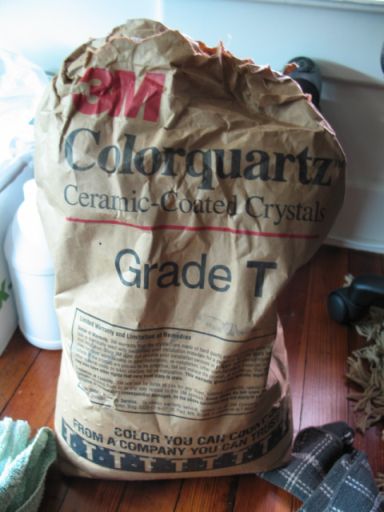
Step 6: (optional)
Now comes the fun part of setting up the aquarium. Add the gravel of your choice just along the front and side edges of the aquarium bottom. Wet it just enough that it holds a slope and press it up against the sides. Doing this step ensures that we will not see the different layers of substrate when viewing the tank from the front and sides. In this instance I have chosen to use 3M Colorquartz T-Grade Black Sand as a substrate top layer. I prefer this coarse sand for many reasons. It is very dense and holds a slope for a long period of time. The finer granules also allow for easy planting.

Sand Border
Step 7:
Sprinkle a light dusting of both the dolomite and muriate of potash on the bottom glass of the tank. The bottom of the glass should still be somewhat visible.

Sprinkling of Dolomite and Potash
Step 8:
Fill in the borders you’ve created with the runny mud mixture of mineralized soil and clay. This layer should be anywhere from ½” to 1” deep.

Mineralized Mud Added
Step 9:
Cover the mud with more of the same border gravel from step 6. If you skipped step 6 then simply cover over the mud with the gravel of your choice. Cover the mud by about 1” in the front to 2” in the back of the tank to create a nice sloping substrate effect.

Gravel Top Layer Added
Step 10:
Begin planting and filling the aquarium as you would any other planted aquarium. Use caution when filling the tank with water. Go slowly to avoid disturbing the substrate and uncovering the soil.
I hope this has inspired you to try something new. I know I had wanted
to try mineralized soil for some time after seeing Sean’s beautiful
aquariums. I finally got up the courage to set up a small 20 gallon tank
last year and now I’m hooked. With a little patience and trial and
error, I think you’ll be pleased with the results.
Copyright (C) 2001-2007, Greater Washington Aquatic Plants Association. All rights reserverd.