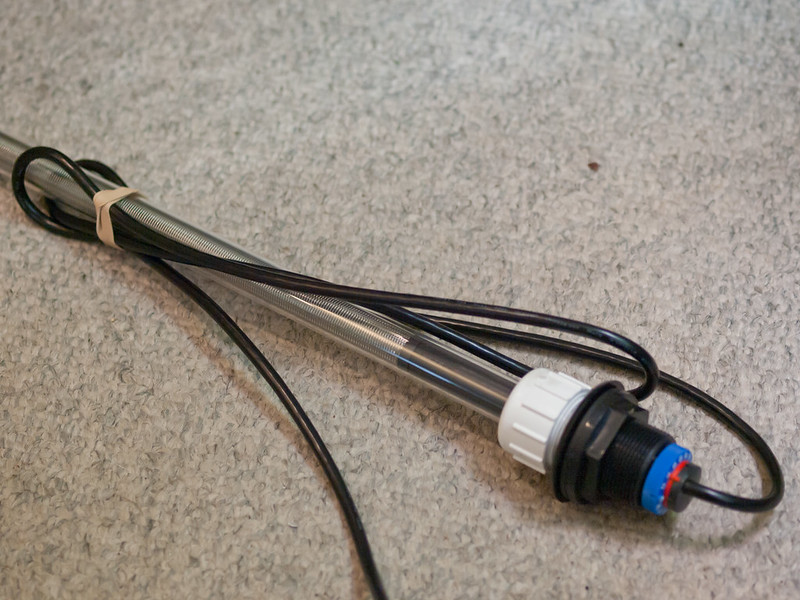
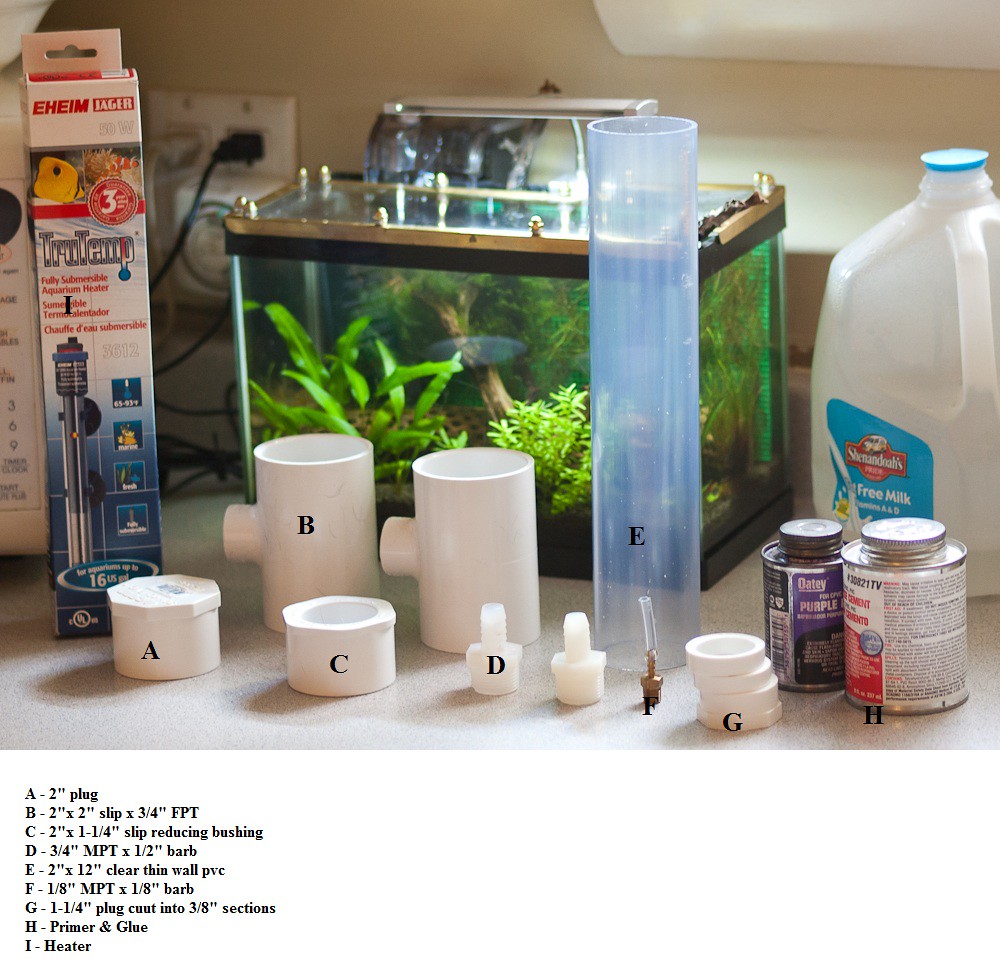
You'll need to sand and fit part G to the heater, you can cut this piece up to one inch long for use with Ebo-Jager heaters, silicone part G onto the heater a day in advance letting it cure completely, also make sure part G is not touching the temperature setting dial so leave an 1/8 space here and trim up excess silicone before the final install.
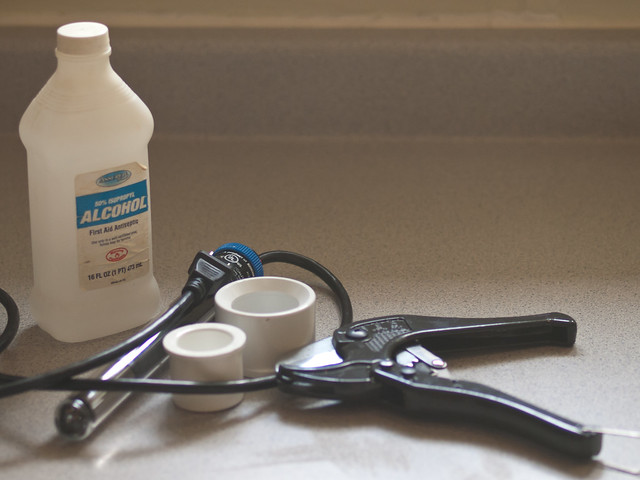
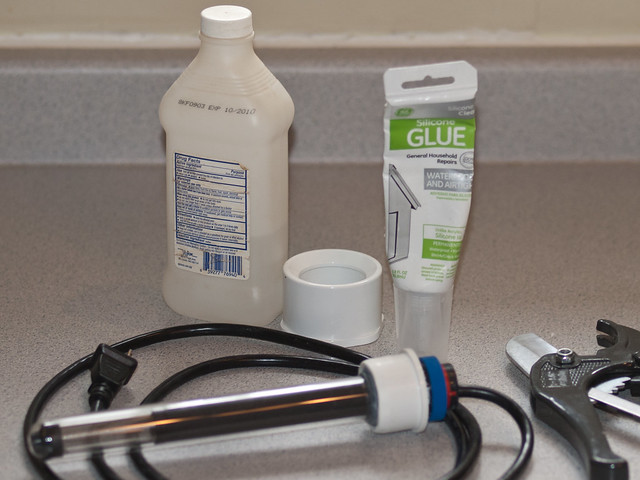
Prime all your fittings then locate fittings A & B and glue up the bottom of the reactor.
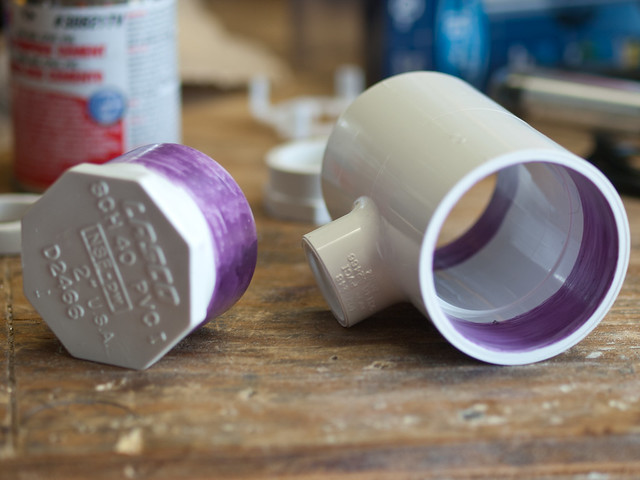
Here it is together but it's upside down.
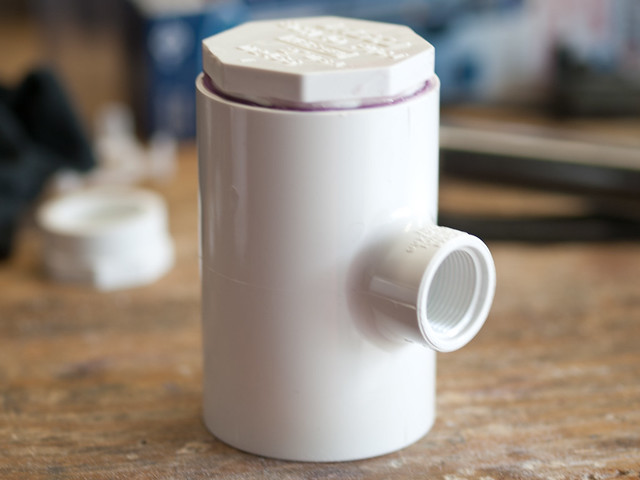
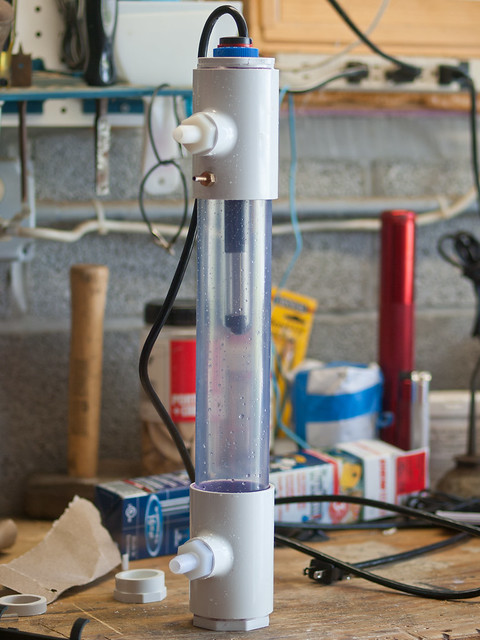
Now prime and glue the clear 2 inch tubing to the bottom and locate the second part B and prime and glue it to become the top, keep in mind how you hoses will be routed so you can turn the Tee to make it more convenient for your stand and filter setup.
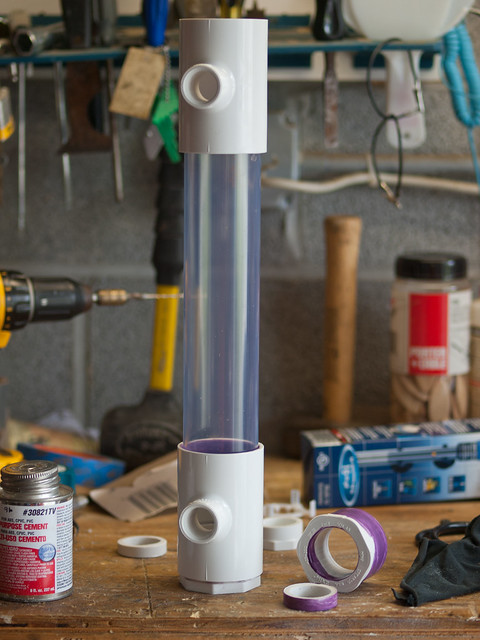
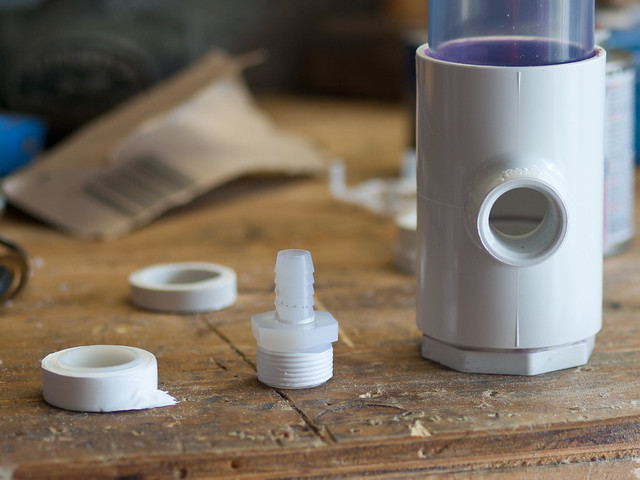
You can install part D in the bottom of the reactor using 6 to 8 full winds of Teflon tape to insure you won't have a leak, leave the top barb fitting out until you tap for the pipe fitting.
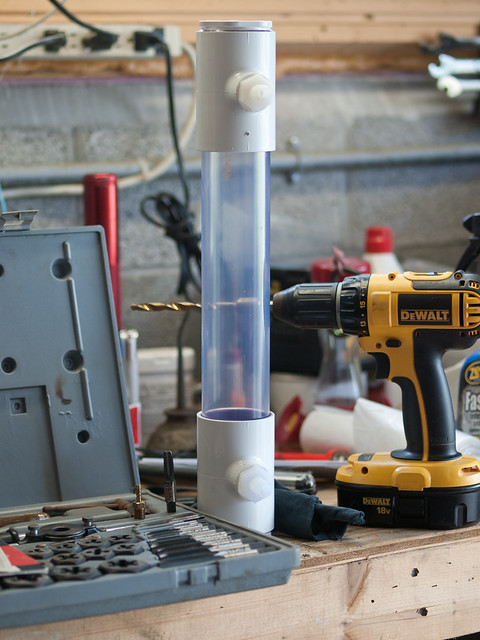
You can see here I drilled a pilot hole for the brass CO2 fitting, I picked this spot so the gas would rise into the reactor intake and get broken up by the incoming water. Now drill a 5/16 inch hole.
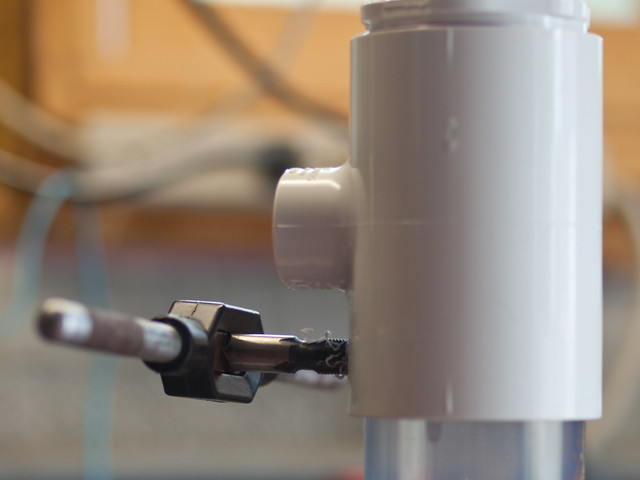
Now insert the 1/8 PT tap and apply a light pressure to keep the tap cutting into the plastic, don't cut and clear as you would when tapping steel the plastic is wat to soft and you don't want to make any cross threads, keep cutting until there is only one or two thread exposed on the tap. When tour finished cleann up the edges and install part F, pipe thread is tapered and should need any teflon tape, plus this is a very fine thread.
Make sure to rinse out the waste from cutting the threads, Now install the top barb fitting making sure to use Teflon tape, then making sure you have a dry surface glue the heater on tho the top and hold it in place for 20 seconds while the glue dries. Now it should be ready for service.